This post is a step-by-step guide to accessing a Next.js local dev server via HTTPS (e.g., https://localhost:3000).
We will be using create-next-app to get a simple Next.js app set up, mkcert to generate a locally-trusted SSL certificate, and local-ssl-proxy to access our Next.js app’s local dev server via HTTPS.
Next.js now supports generating self-signed certificates for use with local development when running next dev. It uses mkcert under the hood, as described in this blog post. If you're using a version of Next.js that supports the --experimental-https flag, you can run next dev --experimental-https and that's it! You can find more info in the Next.js docs.
Running a Next.js app locally and accessing it with HTTP
The easiest way to get started with Next.js is by using create-next-app. Let’s create a Next.js app in the next-https directory:
npx create-next-app next-https
Once that’s done we can change our working directory and start our local dev server:
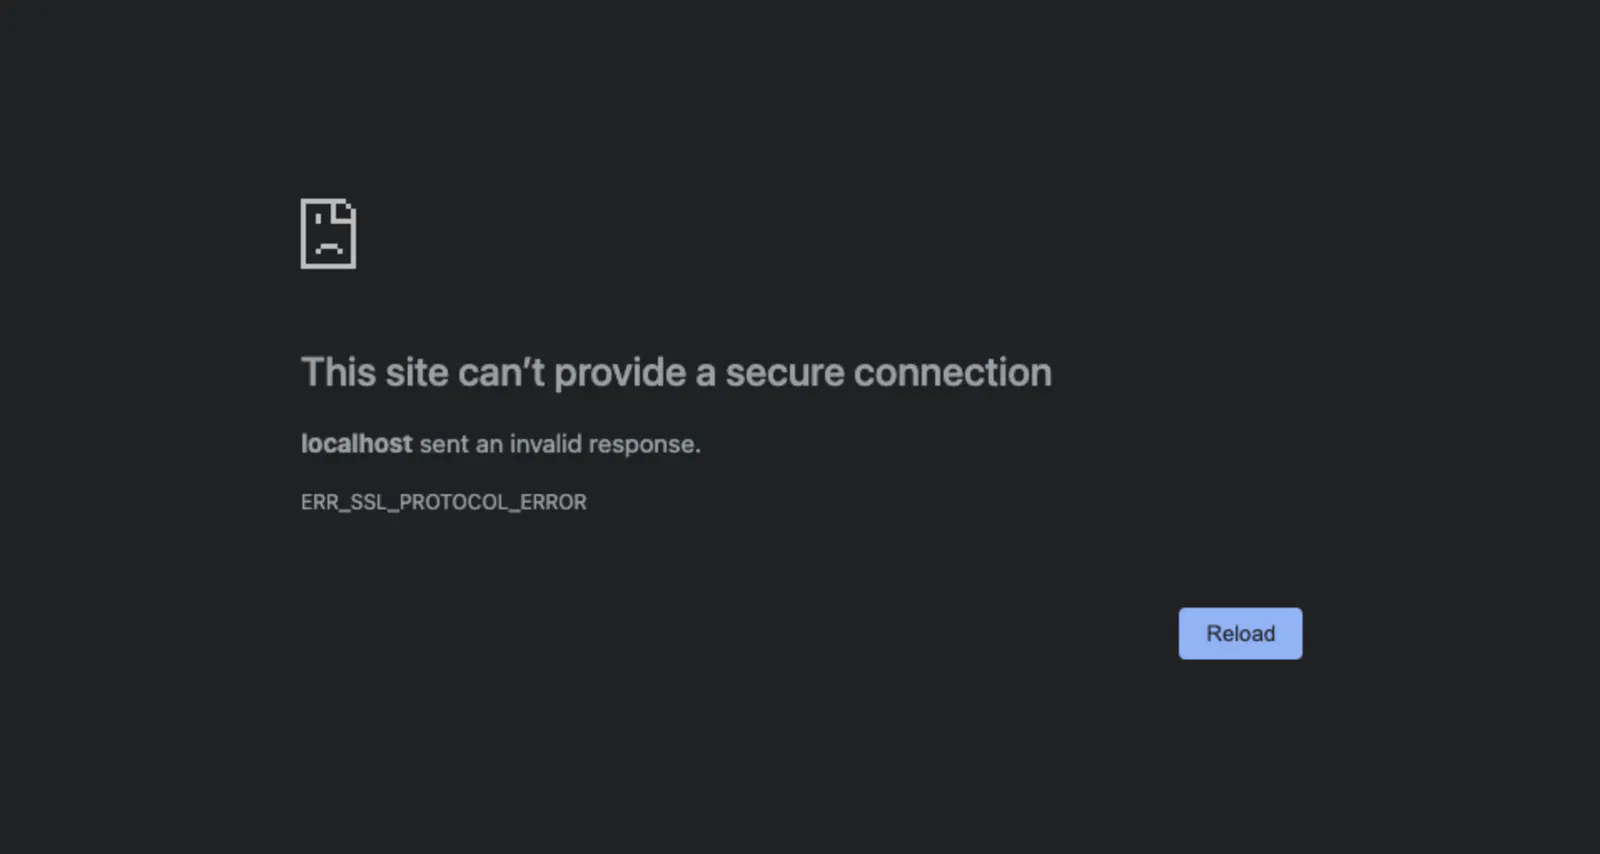
Let's fix that!
Creating a locally-trusted SSL certificate
To use HTTPS to access our local dev server, we’ll need a locally-trusted SSL certificate.
So what does “locally-trusted” mean?
In very simple terms, when a browser attempts to establish an HTTPS connection with a server, it will request an SSL certificate from the server, check if the certificate has been signed by a trusted Certificate Authority (CA), and if so, establish the connection.
So how does the browser know which CAs to trust? Your operating system keeps a list of trusted CAs in a “trust store”.
If you’re on macOS, the following command will list all the certificates of the CAs trusted by the system, hence the -s flag.
security dump-trust-settings -s
These are the first 20 lines I see on my macOS device when I run that command:
Number of trusted certs = 158
Cert 0: Go Daddy Root Certificate Authority - G2
   Number of trust settings : 0
Cert 1: HARICA TLS ECC Root CA 2021
   Number of trust settings : 0
Cert 2: SwissSign Platinum CA - G2
   Number of trust settings : 0
Cert 3: Global Chambersign Root
   Number of trust settings : 0
Cert 4: OISTE WISeKey Global Root GA CA
   Number of trust settings : 0
Cert 5: KISA RootCA 1
   Number of trust settings : 0
Cert 6: Actalis Authentication Root CA
   Number of trust settings : 0
Cert 7: D-TRUST Root CA 3 2013
   Number of trust settings : 0
Cert 8: Apple Root CA - G2
   Number of trust settings : 0
Cert 9: StartCom Certification Authority G2
What “locally-trusted” means is that we’ve added a CA to the system’s trust store so that our browsers will accept certificates signed by it. Browsers running on other machines won’t trust this CA which is why it’s “local”.
We can run dump-trust-settings again but this time with the -d flag to display trusted admin certificates, as opposed to system trusted certificates with -s.
security dump-trust-settings -d
On my macOS device I see the following output:
SecTrustSettingsCopyCertificates: No Trust Settings were found.
So how do we create a locally-trusted CA and install it into our system’s trust store? For this post, we’ll be using mkcert.
mkcert is a tool that makes it very easy to make locally-trusted certs for use in development. It is not intended for production use and is optimized for simplicity and zero-configuration. This makes it perfect for our use case and saves us from wrangling with other more comprehensive, production-grade, and necessarily complicated tools, like OpenSSL.
We’ll start by installing mkcert. On macOS, you can install mkcert using Homebrew.
brew install mkcert
brew install nss # if you use Firefox
Now that we’ve got mkcert installed, we’ll create a CA and add it to the local list of trusted CAs. Note that you might be asked for your password so that mkcert can modify the system trust store.
mkcert -installAfter running that command, mkcert should have created a CA and added its certificate to the system’s trust store. If you’re following along on macOS, we can verify that by running dump-trust-settings again.
security dump-trust-settings -d
This is the output I get now:
Number of trusted certs = 1
Cert 0: mkcert miguel@Miguels-MBP.attlocal.net (Miguel Oller)
   Number of trust settings : 0
Now we’re ready to create our SSL cert. All we have to do is run `mkcert` with the desired hostname:
mkcert localhost
This should result in two files being created in the current working directory. The certificate, localhost.pem and the key, localhost-key.pem.
The .gitignore file generated by create-next-app ignores .pem files so no need to worry about it being checked in to version control.
We can now use this SSL certificate to access our Next.js app via HTTPS!
Accessing the Next.js app locally with HTTPS
So how do we use our certificate with our Next.js development server? Next.js doesn’t support adding an SSL certificate to the development server, so we’ll need something other than Next.js to help us out here.
What we’ll do is run an HTTPS server that will proxy all requests to our Next.js development server. The local-ssl-proxy NPM package makes this a breeze.
With our Next.js app running on localhost:3000, run the following command in a separate terminal:
npx local-ssl-proxy \
  --key localhost-key.pem \ # our encryption key
  --cert localhost.pem \ # our certificate
  --source 3001 \ # the port we want the proxy server to listen to
  --target 3000 # the port our Next.js app is listening on
This will proxy HTTPS traffic from localhost:3001 to localhost:3000 as HTTP. local-ssl-proxy is acting as an “SSL termination proxy”.
And that’s it! You should be able to visit https://localhost:3001 and access your Next.js app via HTTPS.
If you’re planning on doing this often it might be worth installing local-ssl-proxy as a development dependency and adding a package.json script to start the HTTPS server. Also, if you want to use different ports, the Next.js CLI provides options to override the default port.